Travaux Métal DIY
Guide DIY pour réparer un portail en acier
Guide pratique pour diagnostiquer et réparer un portail en acier: contrôle visuel, outils, réparations des charnières et du poteau, soudure et solutions tempora
Gabriel Chevalier 8 min de lecture
This guide explains how to diagnose and repair a steel gate as a DIY project, with step‑by‑step procedures, safety warnings, tool lists, repair options including welding and non‑weld fixes, and clear signals for when to call a professional.
Introduction: what this guide covers
This article targets a residential owner or handyman in the United States who wants a practical, intermediate-level walkthrough for fixing a steel gate. It covers how to spot common failures, what tools and materials you need, step‑by‑step repair procedures for common faults (hinges and sagging), welding repairs for cracks or broken sections, options for replacing or reinforcing a broken post, and temporary non‑weld fixes. It also lists resources and tutorials used to compile the guide.
Safety reminder: work involves sharp tools, grinding, and possibly welding. If you are not familiar with welding or if the structure appears badly compromised, contact a professional. This is an informational guide from an editorial site, not an offer of service.
What you will find: a short diagnostic checklist, an equipment and materials list, a practical repair sequence for hinge/affix problems, a welding workflow for structural repairs, methods for post replacement or reinforcement, temporary non‑weld fixes, corrosion‑protection tips, and a printable checklist.
Diagnostic quick check: identify the fault
Start with a visual inspection. Look for rust concentrated at hinges or the bottom edge, gaps between gate and latch, visible cracks in welds, bent or twisted members, and any movement where the post meets the ground. These symptoms map to common causes documented in practical guides: worn or loose hinges, gate sagging from shifted alignment, localized corrosion eating material away, weld separation, or a compromised post.
On site, follow a short checklist: check play at each hinge by moving the gate by hand; measure or observe gap to ground along the swing path; inspect the latch alignment and try to close and latch; look for blistered or flaking paint that reveals rust beneath; scan weld seams for linear cracks. These actions come from hands‑on DIY repair guides and trade articles cited below.
Certain signs mean you should consider a pro: a post that appears split, a base of a post that is buried and soft, major frame deformation that prevents basic alignment, or a gate supporting structural loads such as an attached fence span. If the post foundation is failing or the metal frame shows extensive distortion, a professional gate welder or fabricator is the safer choice.
Tools and materials you will need
Basic hand tools: drill and bits, socket set and wrenches, clamps and vices, pry bars, tape measure, level, and an adjustable square. Support equipment: a jack or cribbing to hold the gate while you work (crics or supports are used to prevent sudden drops while removing hinges or replacing parts). These items match lists found in practical DIY repair guides.
Cutting and finishing tools: an angle grinder with cutting and grinding discs for removing rust and preparing metal, plus wire brushes and abrasive pads to clean surfaces before welding or bolting. For fastening: bolts, nuts, tines or threaded rod sized to the hinge plates you keep or replace.
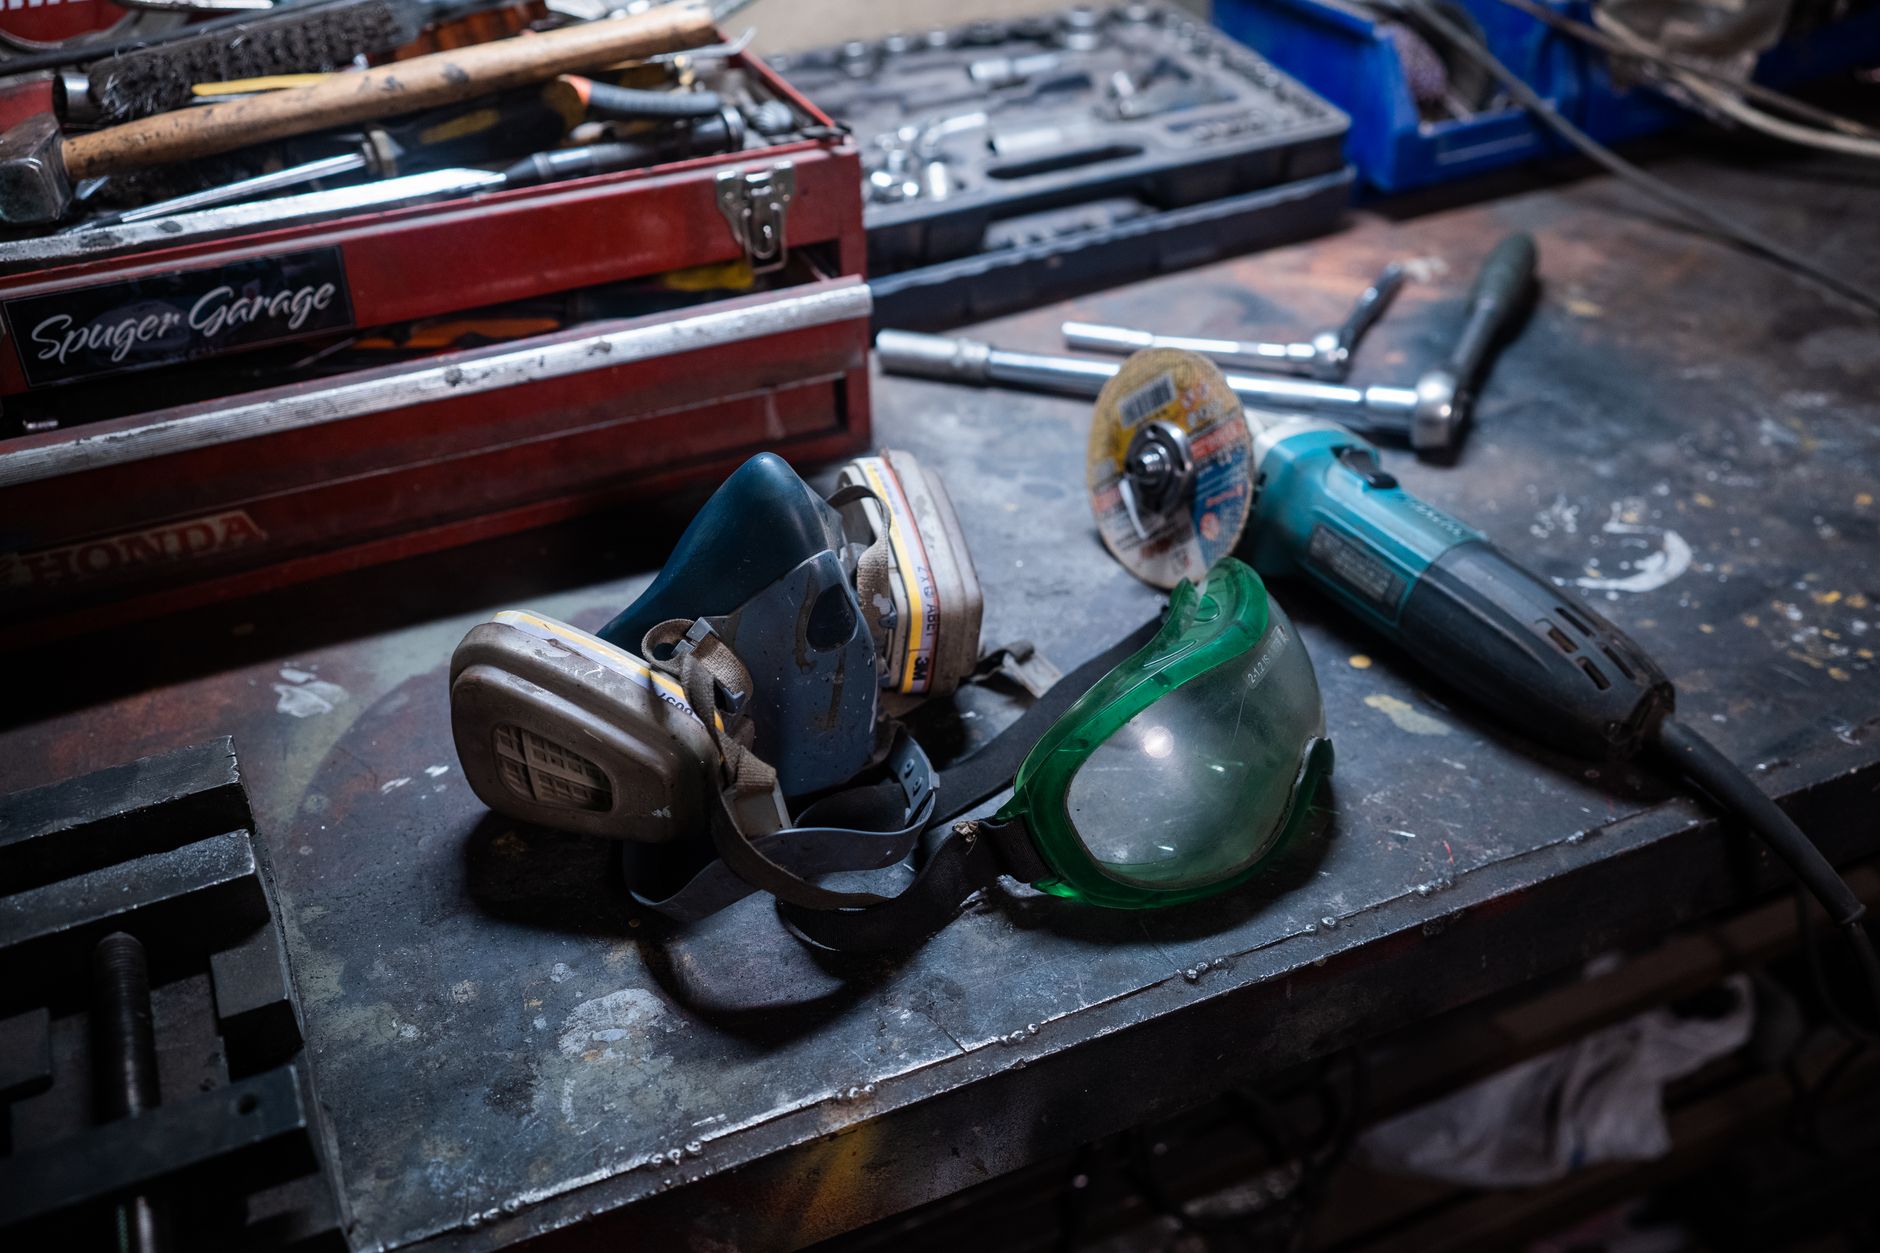
Welding equipment: for metal gate structural repairs, MIG or a shielded‑arc (stick/FCAW) setups are commonly used depending on user experience and material thickness. Personal protective equipment is essential: welding helmet, leather gloves, protective clothing, and eye protection for grinding. If you do not own welding gear, the option to rent machines or hire a local welder is commonly mentioned in tutorial sources.
Materials for repair and protection: replacement hinge hardware sized for the gate load, steel plate for reinforcement patches, anti‑corrosion primer or rust converter, and topcoat paint or a protective finish. For temporary fixes, users often employ metal plates fastened with bolts, heavy clamps, or metal epoxy for small non‑structural cracks; those solutions are limited in structural strength and durability.
Repair steps: hinge wear and gate sag (standard case)
Step 1 — secure and support the gate. Use a jack and cribbing to support the gate weight before removing or loosening fasteners. Never let the gate drop during disassembly.
Step 2 — remove or loosen the hinge fasteners. If hinges are bolted, remove bolts; if welded, assess whether replacing the hinge plate is preferred. With the gate supported, you can lift slightly to relieve tension so fasteners come out more easily.
Step 3 — inspect hinge mounting points and frame where hinges attach. Look for elongation of bolt holes, crushed metal, or weld separation. If hinges are serviceable, re‑seat and tighten to recommended torque for hardware of that size; if worn beyond safe fit, replace with new hinge hardware sized for the gate.
Step 4 — raise the hinge location to correct sag when possible. Many do this by repositioning the hinge plate upward on the post by a small increment, effectively lifting the gate. After reinstallation, verify operation through the full swing and adjust the strike or latch if alignment shifted.
Final checks: operate the gate several times, confirm the latch lines up, and apply lubricant to hinge pivot points to reduce wear. Keep photos of disassembly to help with correct reassembly if parts are removed in several steps.
Welding repairs: fixing cracks and broken sections
When to weld: welding is appropriate for localized cracks or broken members when the surrounding metal is solid enough to accept heat and filler. Preparation matters: remove paint and rust around the repair area, bevel or grind crack roots as needed, and fit pieces so alignment returns before any full weld pass.
Alignment and tack welding: use clamps or temporary tack welds to hold parts in the correct position. Place tack welds progressively to limit distortion. After tack welding and verification of alignment, proceed with full passes appropriate to the material thickness and welder type. Tutorial sources recommend welding technique and sequence as part of standard procedures.
Finish and protection: grind welds smooth where needed, inspect for undercut or incomplete fusion, and apply anti‑corrosion treatment and paint. If the repaired section is a member under high load or a post, consider whether full replacement is preferable; a structurally compromised post typically requires extraction and replacement rather than a patch weld.
Replacing or reinforcing a post
Options include excavating and replacing the post with new footing and concrete, or installing an internal reinforcement sleeve if the existing post has available access and the base condition allows it. Replacement requires removal of the old post and preparation of a new footing; reinforcement can be an internal tube welded inside the existing member if geometry and access allow.
Both approaches require heavy lifting or mechanical assistance and attention to plumb and level during installation. Guides on fence post replacement and gate post repair outline excavation and anchoring steps and emphasize that this is often the most complex repair a residential DIYer faces.
Temporary fixes and non‑weld alternatives
When welding is not an option, temporary metal plates bolted across a crack or metal epoxy can restore limited function for light use. Collars or clamps around a post base can slow further deterioration. These are interim measures; DIY forums and how‑to articles emphasize their limits in structural strength and longevity.
Use temporary fixes for aesthetic or low‑stress situations only, and plan a permanent repair or professional intervention when structural integrity is required.
Finition and corrosion protection
After repair, clean exposed metal, apply a rust converter where needed, prime with an appropriate metal primer, and topcoat with a durable finish. Periodic lubrication of hinges and an annual visual inspection extend the life of the repair.
When to call a professional
Call a professional if the post is structurally compromised, welds on load‑bearing members are failing, the frame shows severe distortion, or you lack welding skills and equipment for a safe repair. Professionals perform realignment, full structural welding, post replacement, and can handle integrated gate systems safely.
Case variants and out‑of‑scope items
This guide focuses on steel gates. Other materials such as aluminum or ferrous ornamental iron may require different welding processes or mechanical fastenings; automated gate systems with motors and controls are outside this article’s scope and usually require specialists for electrical and mechanical integration.
Printable checklist
- Inspect: hinges, welds, post base, latch alignment.
- Support gate securely before any removal.
- Remove or replace worn hinge hardware.
- For weld repairs: clean, align, tack, weld, inspect, protect.
- For post issues: evaluate replacement vs reinforcement; expect heavy work.
- Use temporary fixes only for low‑stress, short‑term repair.
- Protect finish: primer + topcoat and regular lubrication.
Resources and tutorials used (consulted 04/09/2026)
- This Old House — How To Repair a Fence Gate. https://www.thisoldhouse.com/fences/how-to-repair-a-fence-gate. Consulted 04/09/2026.
- HomeSteady — How to Repair a Metal Gate. https://homesteady.com/13424858/how-to-repair-a-metal-gate. Consulted 04/09/2026.
- eHow — How to Repair an Iron Gate. https://www.ehow.com/how_7262664_repair-iron-gate.html. Consulted 04/09/2026.
- Engineer Fix — How to Fix Metal Gate Hinges: A Step‑by‑Step Guide. https://engineerfix.com/how-to-fix-metal-gate-hinges-a-step-by-step-guide/. Consulted 04/09/2026.
- Angi — How to Replace a Fence Post. https://www.angi.com/articles/how-to-replace-a-fence-post.htm. Consulted 04/09/2026.
- Sierra Gate Repair San Diego — Gate Welding Repair. https://sierragaterepairsandiego.com/gate-welding-repair/. Consulted 04/09/2026.
- YouTube — Caliber8 Tools & DIY — METAL GATE REPAIR HOW TO. https://www.youtube.com/watch?v=mp8jQoEY2zY. Consulted 04/09/2026.
- MerchantCircle — How to Repair a Metal Gate. https://www.merchantcircle.com/articles/How-to-Repair-a-Metal-Gate/1061914. Consulted 04/09/2026.
- Reddit — r/Welding and r/FenceBuilding threads (community experience). https://www.reddit.com/r/Welding/ and https://www.reddit.com/r/FenceBuilding/. Consulted 04/09/2026.
What this page does not provide
- It does not supply national or local cost estimates for repairs or professional labor; no reliable cost averages were found in the consulted sources.
- It does not give standard, quantified durations (hours/days) for each intervention; timing varies by damage and available help and was not documented in the sources used.
- It does not list exact material thickness specifications for every gate configuration; those require direct measurement of the gate you have.
- It does not draw on any site DATA‑BANK figures (the data bank was not available when the guide was compiled).
- It does not cover automated gate electronics and motor repairs.

Rédacteur spécialisé · soudure, métallerie, bricolage
Gabriel couvre l'univers de la soudure et de la métallerie, partageant des conseils pratiques et des méthodes efficaces. Il vérifie chaque information à l'aide de sources fiables pour garantir la qualité de ses articles.
Dans Travaux Métal DIY
16 septembre 2026
Enhancing Metal Fabrication Efficiency with Swarm Intelligence
12 septembre 2026
On-Site Postweld Heat Treatment for Homeowners
12 septembre 2026