Travaux Métal DIY
Guide TIG pas à pas pour débutants
Guide étape par étape pour débutants en soudage TIG (GTAW) : installation, sécurité, réglages, technique et exercices. Référence, pas formation.
Gabriel Chevalier 11 min de lecture
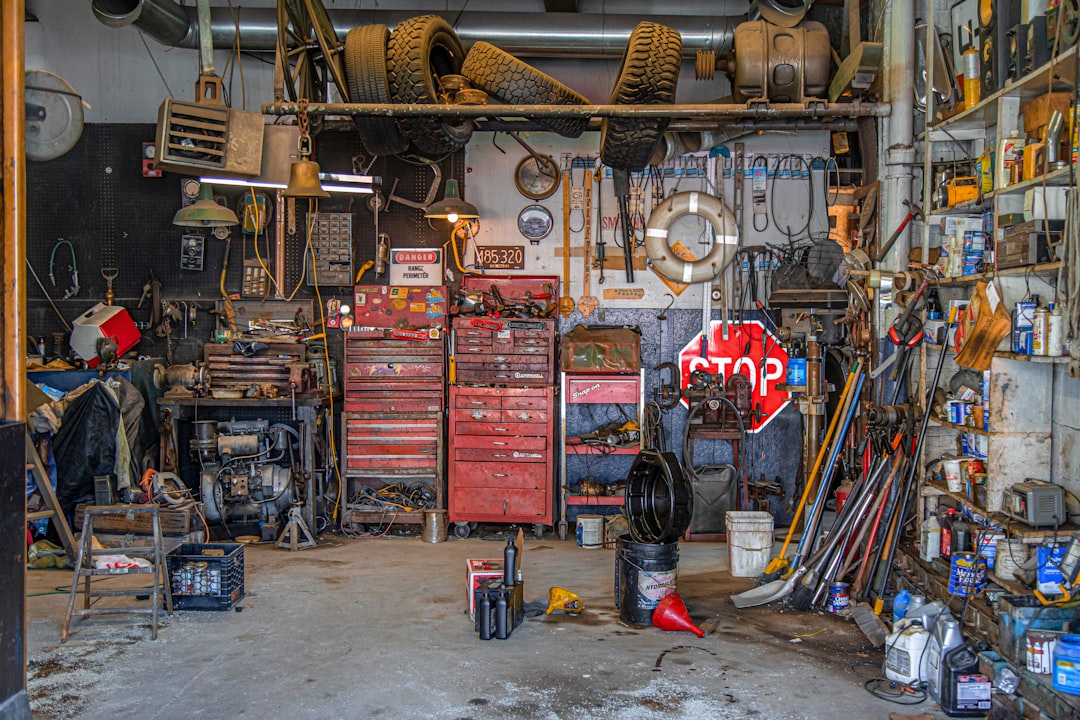
This step‑by‑step TIG (GTAW) welding guide for beginners explains what TIG is, how to set up equipment, safety essentials, core welding technique, troubleshooting, drills, and where to find manufacturer manuals and authoritative references. It is an editorial guide, not a substitute for formal training or model‑specific manuals.
- Introduction — what TIG (GTAW) is and who this guide is for
- Safety first — hazards, required PPE, ventilation, OSHA guidance
- Equipment and consumables — what you need before you start
- Machine setup — step-by-step hookup and initial settings
- Preparing the workpiece — cleaning, joint prep, fit-up
- Basic TIG technique — step-by-step workflow
- Material-specific notes (steel, stainless, aluminum)
- Common problems and troubleshooting
- Practice drills and a beginner curriculum
- Equipment maintenance and consumables handling
- Where to learn more — manuals, trusted resources, videos
- FAQ
- References and further reading
- Annex — printable checklist and starter settings
- What we do not know
Introduction — what TIG (GTAW) is and who this guide is for
TIG stands for Gas Tungsten Arc Welding, also called GTAW. It is a precision process that uses a non‑consumable tungsten electrode and an inert shielding gas such as argon to protect the weld pool (MillerWelds, consulted 09/04/2026). TIG is valued for control and a clean weld appearance and is commonly applied to stainless steel, aluminum, chromoly, and other metals (MillerWelds, consulted 09/04/2026).
This guide is written for beginner hobbyists, home shop welders, makers, and vocational students who know basic hand tools but need a single practical reference for setup, safety, consumables, technique, and drills. This is an editorial resource; consult your machine manual and qualified instructors for hands‑on training and model‑specific requirements.
Safety first — hazards, required PPE, ventilation, and OSHA guidance
TIG welding carries hazards common to welding in general: welding fume exposure, ultraviolet and infrared radiation, hot metal and sparks, and electrical risks. OSHA lists fume hazards and recommends controls such as local exhaust ventilation and appropriate personal protective equipment (OSHA, consulted 09/04/2026).
Basic PPE for TIG includes an appropriate auto‑darkening welding helmet (with the right shade for the amperage and process), welding gloves, flame‑resistant clothing or a welding jacket, safety glasses worn under the helmet, and closed‑toe footwear. Vendor manuals and TIG how‑to resources outline helmet shade guidance and PPE combinations (MillerWelds; Harbor Freight manual examples, consulted 09/04/2026).
Control fume exposure by using local exhaust ventilation where possible and by positioning yourself and the workpiece to minimize inhalation of rising fumes. OSHA recommends engineering controls such as local exhaust systems for welding fume hazards (OSHA, consulted 09/04/2026).
Electrical safety and workshop housekeeping: keep the work area dry, ensure proper grounding of equipment per the machine manual, and remove flammable materials from the immediate area. Manufacturer owner manuals contain model‑specific electrical and safety instructions and should be followed for wiring, grounding, and safe hookup (Miller owner manuals; Lincoln documentation, consulted 09/04/2026).
Short safety checklist before each session: confirm proper PPE, verify ventilation, remove combustibles, check ground clamp tightness, inspect cables for damage, and have an appropriate fire extinguisher and first‑aid kit nearby.
Equipment and consumables — what you need before you start
Core TIG components: a TIG power supply, torch (air‑cooled or water‑cooled), gas cylinder with regulator/flowmeter, gas hose and fittings, tungsten electrodes, filler rods, and ground clamp. Manufacturer knowledge hubs and practical TIG guides list these items and setup steps (MillerWelds; WeldingTipsAndTricks, consulted 09/04/2026).
Shielding gas: pure argon is the most versatile and common choice for TIG (WeldingTipsAndTricks, consulted 09/04/2026). Use a regulator/flowmeter to set and monitor flow. Gas lens components and cup selection affect gas coverage and are recurring recommendations in practical guides (WeldingTipsAndTricks, consulted 09/04/2026).
Tungsten selection: 2% lanthanated tungsten is frequently recommended as a versatile electrode for both AC and DC in many beginner setups (WeldingTipsAndTricks, consulted 09/04/2026). Grind the tungsten to a consistent point suitable for the current and use to avoid contamination.
Torch control methods: foot pedal, torch amp control, or torch trigger/button are standard ways to modulate heat in TIG (WeldingTipsAndTricks, consulted 09/04/2026). Choose the control method compatible with your machine and practice synchronizing hand and foot movements.
Filler rods: select filler alloys that match the base metal — common consumables are documented in welding supply resources and manufacturer references. Accessories to consider: gas lens vs standard collet body, cup sizes that suit your joint geometry, and optional water cooling for high‑duty or prolonged welding.
Machine setup — step-by-step equipment hookup and initial settings
Basic hookup sequence: power off the machine; connect torch power, gas, and water (if applicable); attach the ground clamp to clean metal; install and properly secure the tungsten; set polarity according to the material; purge gas lines before starting; and set the gas flow on the regulator/flowmeter. Refer to manufacturer manuals for model‑specific connector and electrical procedures (Miller owner manuals; Lincoln documentation, consulted 09/04/2026).
Polarity notes: the commonly cited polarity choices are DCEN (direct current electrode negative) for steel and AC for aluminum — always confirm on the machine and in the Miller TIG overview (MillerWelds, consulted 09/04/2026).
Starting amperage rule of thumb: for carbon steel, a commonly cited beginner guideline is roughly 1 amp per 0.001″ (one amp per one‑thousandth of an inch) of material thickness; use test coupons to refine the setting for your machine and technique (WeldingTipsAndTricks, consulted 09/04/2026).
Refine settings by welding short test beads on representative coupons. Adjust amperage, travel speed, and filler feed to achieve good fusion without burn‑through. For machine‑specific electrical requirements and safe wiring, consult the owner manual for your model (Miller owner manuals; Lincoln documentation, consulted 09/04/2026).
Preparing the workpiece — cleaning, joint prep, and fit-up
TIG requires very clean surfaces. Remove oils, paint, and oxides before welding. For aluminum, remove the oxide layer at the weld area immediately before welding. Cleanliness reduces contamination and porosity (WeldingTipsAndTricks; MillerWelds, consulted 09/04/2026).
Fit‑up: ensure consistent joint gaps and tack welds to hold assembly in place. Tacking keeps alignment and heat distribution predictable. Use small tacks placed to control distortion before running final welds.
For fillet and butt joints, minimal and consistent gaps help maintain even penetration. When in doubt, tack, test, and re‑tack rather than trying to compensate with excessive heat.
Basic TIG technique — step-by-step welding workflow
Step 1: place the ground clamp on clean base metal near the joint and set up tacks to stabilize the assembly.
Step 2: strike the arc using either high‑frequency start or lift‑start methods supported by your machine. Follow the machine manual for safe start procedures (Miller owner manuals; WeldingTipsAndTricks, consulted 09/04/2026).
Step 3: control the puddle with your pedal or torch‑mounted amp control. Observe puddle size and adjust heat to maintain a stable molten pool without excessive penetration.
Step 4: add filler rod by dipping it into the leading edge of the puddle while keeping the rod within the gas shield. Maintain consistent rod feed and small additions to avoid contamination.
Step 5: travel speed, torch angle, and cup‑to‑work distance affect gas coverage and bead shape. A common guidance is to keep the cup‑to‑work distance around 1/8″ to preserve shielding gas coverage; adjust as needed for the joint and cup size (WeldingTipsAndTricks, consulted 09/04/2026).
Step 6: after completing a weld pass, maintain gas post‑flow for the recommended time to protect the cooling weld and tungsten. Machine manuals and vendor guides specify appropriate post‑flow durations (Miller owner manuals; WeldingTipsAndTricks, consulted 09/04/2026).
Material-specific notes (steel, stainless, aluminum)
Steel: follow the amperage rule‑of‑thumb (1 amp per 0.001″ thickness) as a starting point and refine with test coupons. Select filler metals recommended for the base alloy (WeldingTipsAndTricks; Welders Supply, consulted 09/04/2026).
Stainless: manage heat to avoid excessive coloration and oxidation. Use appropriate filler alloys and control interpass temperature to reduce distortion and maintain corrosion resistance (MillerWelds; WeldingTipsAndTricks, consulted 09/04/2026).
Aluminum: use AC settings on machines designed for aluminum TIG, address oxide control by cleaning immediately before welding, and consult the one‑page aluminum TIG plan for balance and pulse considerations (MillerWelds; WeldingTipsAndTricks one‑page aluminum plan, consulted 09/04/2026).
Common problems and troubleshooting
Lack of gas coverage causes contamination and poor bead appearance — check regulator flow, hose connections, cup size, and gas lens seating. Tungsten contamination often occurs when the rod touches the weld pool or filler metal; regrind the tungsten and remove contaminants. Porosity, poor fusion, and undercut can result from contamination, incorrect amperage, or improper travel speed. Troubleshoot by checking gas, tungsten condition, cleanliness, amperage, and travel speed in that order (MillerWelds; WeldingTipsAndTricks, consulted 09/04/2026).
Quick inspection checklist: verify gas supply and flow, inspect tungsten tip for contamination, confirm clean base metal, and test on a coupon while adjusting one variable at a time.
Practice drills and a beginner curriculum
Begin with short, focused drills on coupons: straight beads, puddle control exercises, and feeding filler into a steady puddle. Progress to T‑joint fillets, lap joints with filler, and running beads on 18–14 gauge coupons as skill grows. Community tutorials and video drills offer step sequences and visual cues for cadence and motion (YouTube tutorial example; WeldingTipsAndTricks, consulted 09/04/2026).
Suggested approach: short daily sessions, film your setup and bead runs for review, and inspect beads for uniformity, heat tint, and fusion. Increase complexity gradually and keep practice sessions focused on one skill at a time (e.g., pedal control, filler timing, or torch travel angle).
Equipment maintenance and consumables handling
Keep tungsten tips clean and regrind as needed. Check hoses and fittings for leaks, perform gas leak checks before welding, and replace worn collets, cups, and O‑rings on a schedule informed by use. Manufacturer owner manuals provide maintenance intervals and safe handling procedures (Miller owner manuals; Lincoln documentation, consulted 09/04/2026).
Where to learn more — manuals, trusted resources, videos
Authoritative resources used for this guide include the Miller knowledge hub and how‑to pages, WeldingTipsAndTricks tutorials and plans, Lincoln Electric documentation, OSHA welding operations fact sheet, Welders Supply settings guides, and example owner manuals and product manuals cited in this guide (see References). Video tutorials and community drill pages are valuable for visual practice sequences.
FAQ
What tungsten size should I use for 1/8″ steel? Refer to machine and filler charts; use the general amperage rule‑of‑thumb and match tungsten diameter recommended in vendor charts for that amperage range (WeldingTipsAndTricks; Welders Supply, consulted 09/04/2026).
AC or DC for aluminum? AC is the commonly cited choice for aluminum TIG; consult the Miller TIG overview for details and machine settings (MillerWelds, consulted 09/04/2026).
What gas flow rate should I use? Set flow with a regulator/flowmeter and follow guidance in practical TIG resources and your machine manual; cup size, gas lens, and fit‑up affect the effective flow and coverage (WeldingTipsAndTricks; Miller owner manuals, consulted 09/04/2026).
References and further reading
- MillerWelds — How to TIG Weld knowledge hub. https://www.millerwelds.com/en-us/resources/knowledge-hub/tig-welding/how-to. Consulted 09/04/2026.
- MillerWelds — TIG welding hub. https://www.millerwelds.com/en-us/resources/knowledge-hub/tig-welding. Consulted 09/04/2026.
- WeldingTipsAndTricks — TIG how‑to and learning pages. https://www.weldingtipsandtricks.com/how-to-weld-tig.html. Consulted 09/04/2026.
- WeldingTipsAndTricks — Learning How to TIG Weld Carbon Steel. https://www.weldingtipsandtricks.com/learning-how-to-tig-weld-carbon-steel.html. Consulted 09/04/2026.
- WeldingTipsAndTricks — One Page Aluminum TIG Welding Plan. https://www.weldingtipsandtricks.com/one-page-aluminum-tig-welding-plan.html. Consulted 09/04/2026.
- OSHA — Welding operations fact sheet. https://www.osha.gov/Publications/OSHA_FS-3647_Welding.html. Consulted 09/04/2026.
- Lincoln Electric — TIG content and manuals. https://ch-delivery.lincolnelectric.com/api/public/content/bdcb4039c52f4cc39821cfe7259dec34?v=f513fc5b. Consulted 09/04/2026.
- Welders Supply — TIG Welding Steel Settings guide. https://www.welders-supply.com/welding-processes/tig-welding/tig-welding-steel-settings/. Consulted 09/04/2026.
- Miller owner manuals (example PDFs). https://www.millerwelds.com/files/owners-manuals/o221694b_eng.pdf. Consulted 09/04/2026.
- Harbor Freight / product manual examples. https://manuals.harborfreight.com/manuals/56254-792363562546.pdf. Consulted 09/04/2026.
- YouTube — beginner TIG practice drill video. https://www.youtube.com/watch?v=uzIF0H02fBw. Consulted 09/04/2026.
- Weldmonger one‑page TIG plan rules of thumb. https://weldmongerstore.com/blogs/weldingtipsandtricks/one-page-tig-plan-rules-of-thumb. Consulted 09/04/2026.
Annex — printable checklist and one-page starter settings
Printable starter checklist:
- Gear: helmet with proper shade, welding gloves, flame‑resistant jacket, safety glasses, closed‑toe shoes.
- Equipment: TIG machine, torch, argon cylinder with regulator/flowmeter, ground clamp, tungsten, filler rods, cups, gas lens if used.
- Pre‑weld: remove flammables, verify ventilation, check for gas leaks, inspect cables and ground clamp, confirm PPE.
- Setup steps: power off → connect torch power/gas/water → install tungsten → attach ground → purge gas → set initial flow → power on and test on coupon.
- Starter amperage guide: use the 1 amp per 0.001″ thickness rule‑of‑thumb for carbon steel as a starting point and refine on test coupons (WeldingTipsAndTricks, consulted 09/04/2026).
- Post‑weld: maintain post‑flow gas, inspect weld, clean as required.
How we sourced this guide: the content above synthesizes manufacturer how‑to material and owner manuals, trade how‑to guides, OSHA welding operations guidance, welding supply reference charts, and community practice tutorials. Consult your machine owner manual for model‑specific electrical and hookup instructions before operating any equipment (Miller owner manuals; Lincoln documentation; OSHA; WeldingTipsAndTricks; Welders Supply, all consulted 09/04/2026).
What we do not know
This guide does not include proprietary site data or any internal inventory figures. It does not claim instructor certifications or that following this guide results in certification. Exact amperage charts for a specific welder model are not provided here; consult the owner manual for your machine for model‑specific amperage charts and electrical specifications. State or local regulatory rules beyond the federal OSHA guidance cited are not asserted in this guide.


Rédacteur spécialisé · soudure, métallerie, bricolage
Gabriel couvre l'univers de la soudure et de la métallerie, partageant des conseils pratiques et des méthodes efficaces. Il vérifie chaque information à l'aide de sources fiables pour garantir la qualité de ses articles.
Dans Travaux Métal DIY
16 septembre 2026
Enhancing Metal Fabrication Efficiency with Swarm Intelligence

12 septembre 2026
On-Site Postweld Heat Treatment for Homeowners
12 septembre 2026